
Installation
How to purchase, authenticate, and install the RVE SDK
The RVE SDK is delivered as a private npm package through the React Video Editor registry. Setup only takes a few minutes: create your account, activate your subscription, generate a registry token, and add it to npm before installing the package.
You'll do most of this from the customer dashboard, so it's worth getting that set up first. If you're planning to use the SDK across local development, CI, and production, you can create separate tokens for each environment later.
Set up in minutes with our Agent Skill
Install the skill and let your coding agent complete the SDK setup.
npx skills add reactvideoeditor/react-video-editor-agent-skills --skill rve-sdkView on GitHub
Step 1: Create Your Account
Create your React Video Editor account to access the dashboard. This is where you'll manage your subscription, create registry tokens, and view the install details you'll need in the next steps.
If you already have an account, sign in and continue to the token setup section below.
Step 2: Create a Registry Token
Once your subscription is active, go to Registry Tokens in the dashboard sidebar and click Create Token. Give it a label so you know where it's being used (e.g. my-laptop, ci-pipeline, vercel-prod).
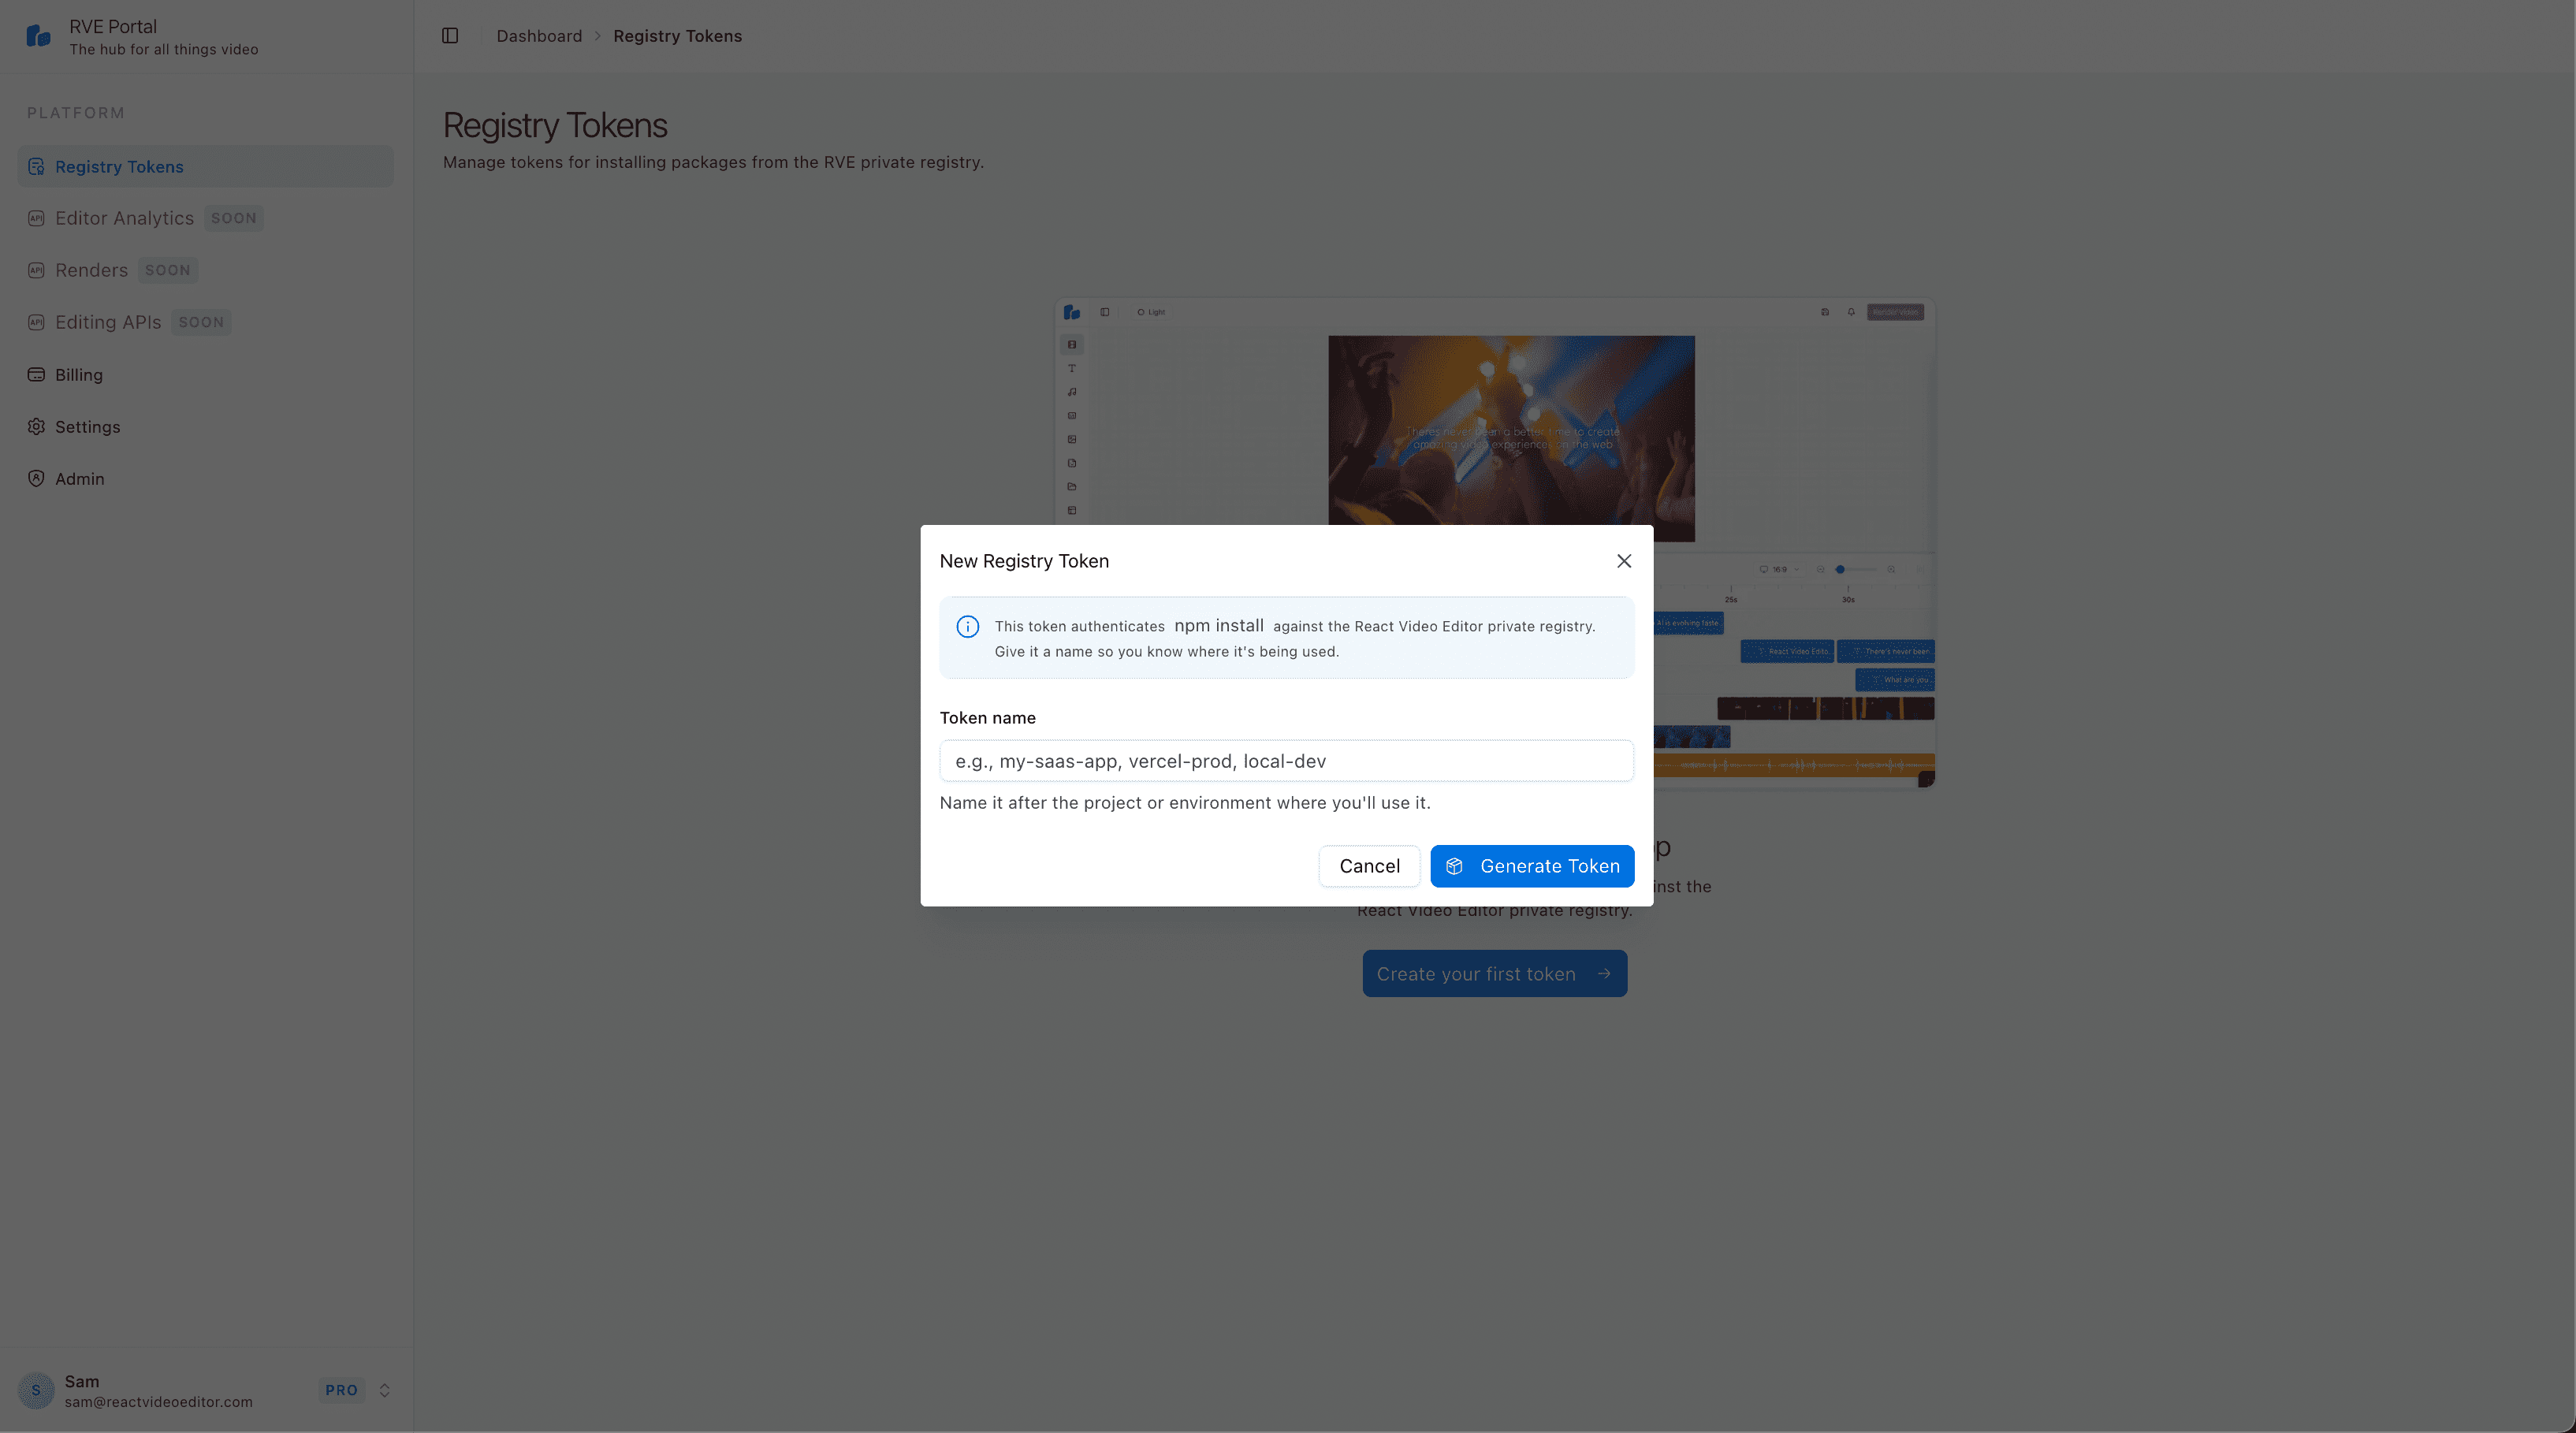
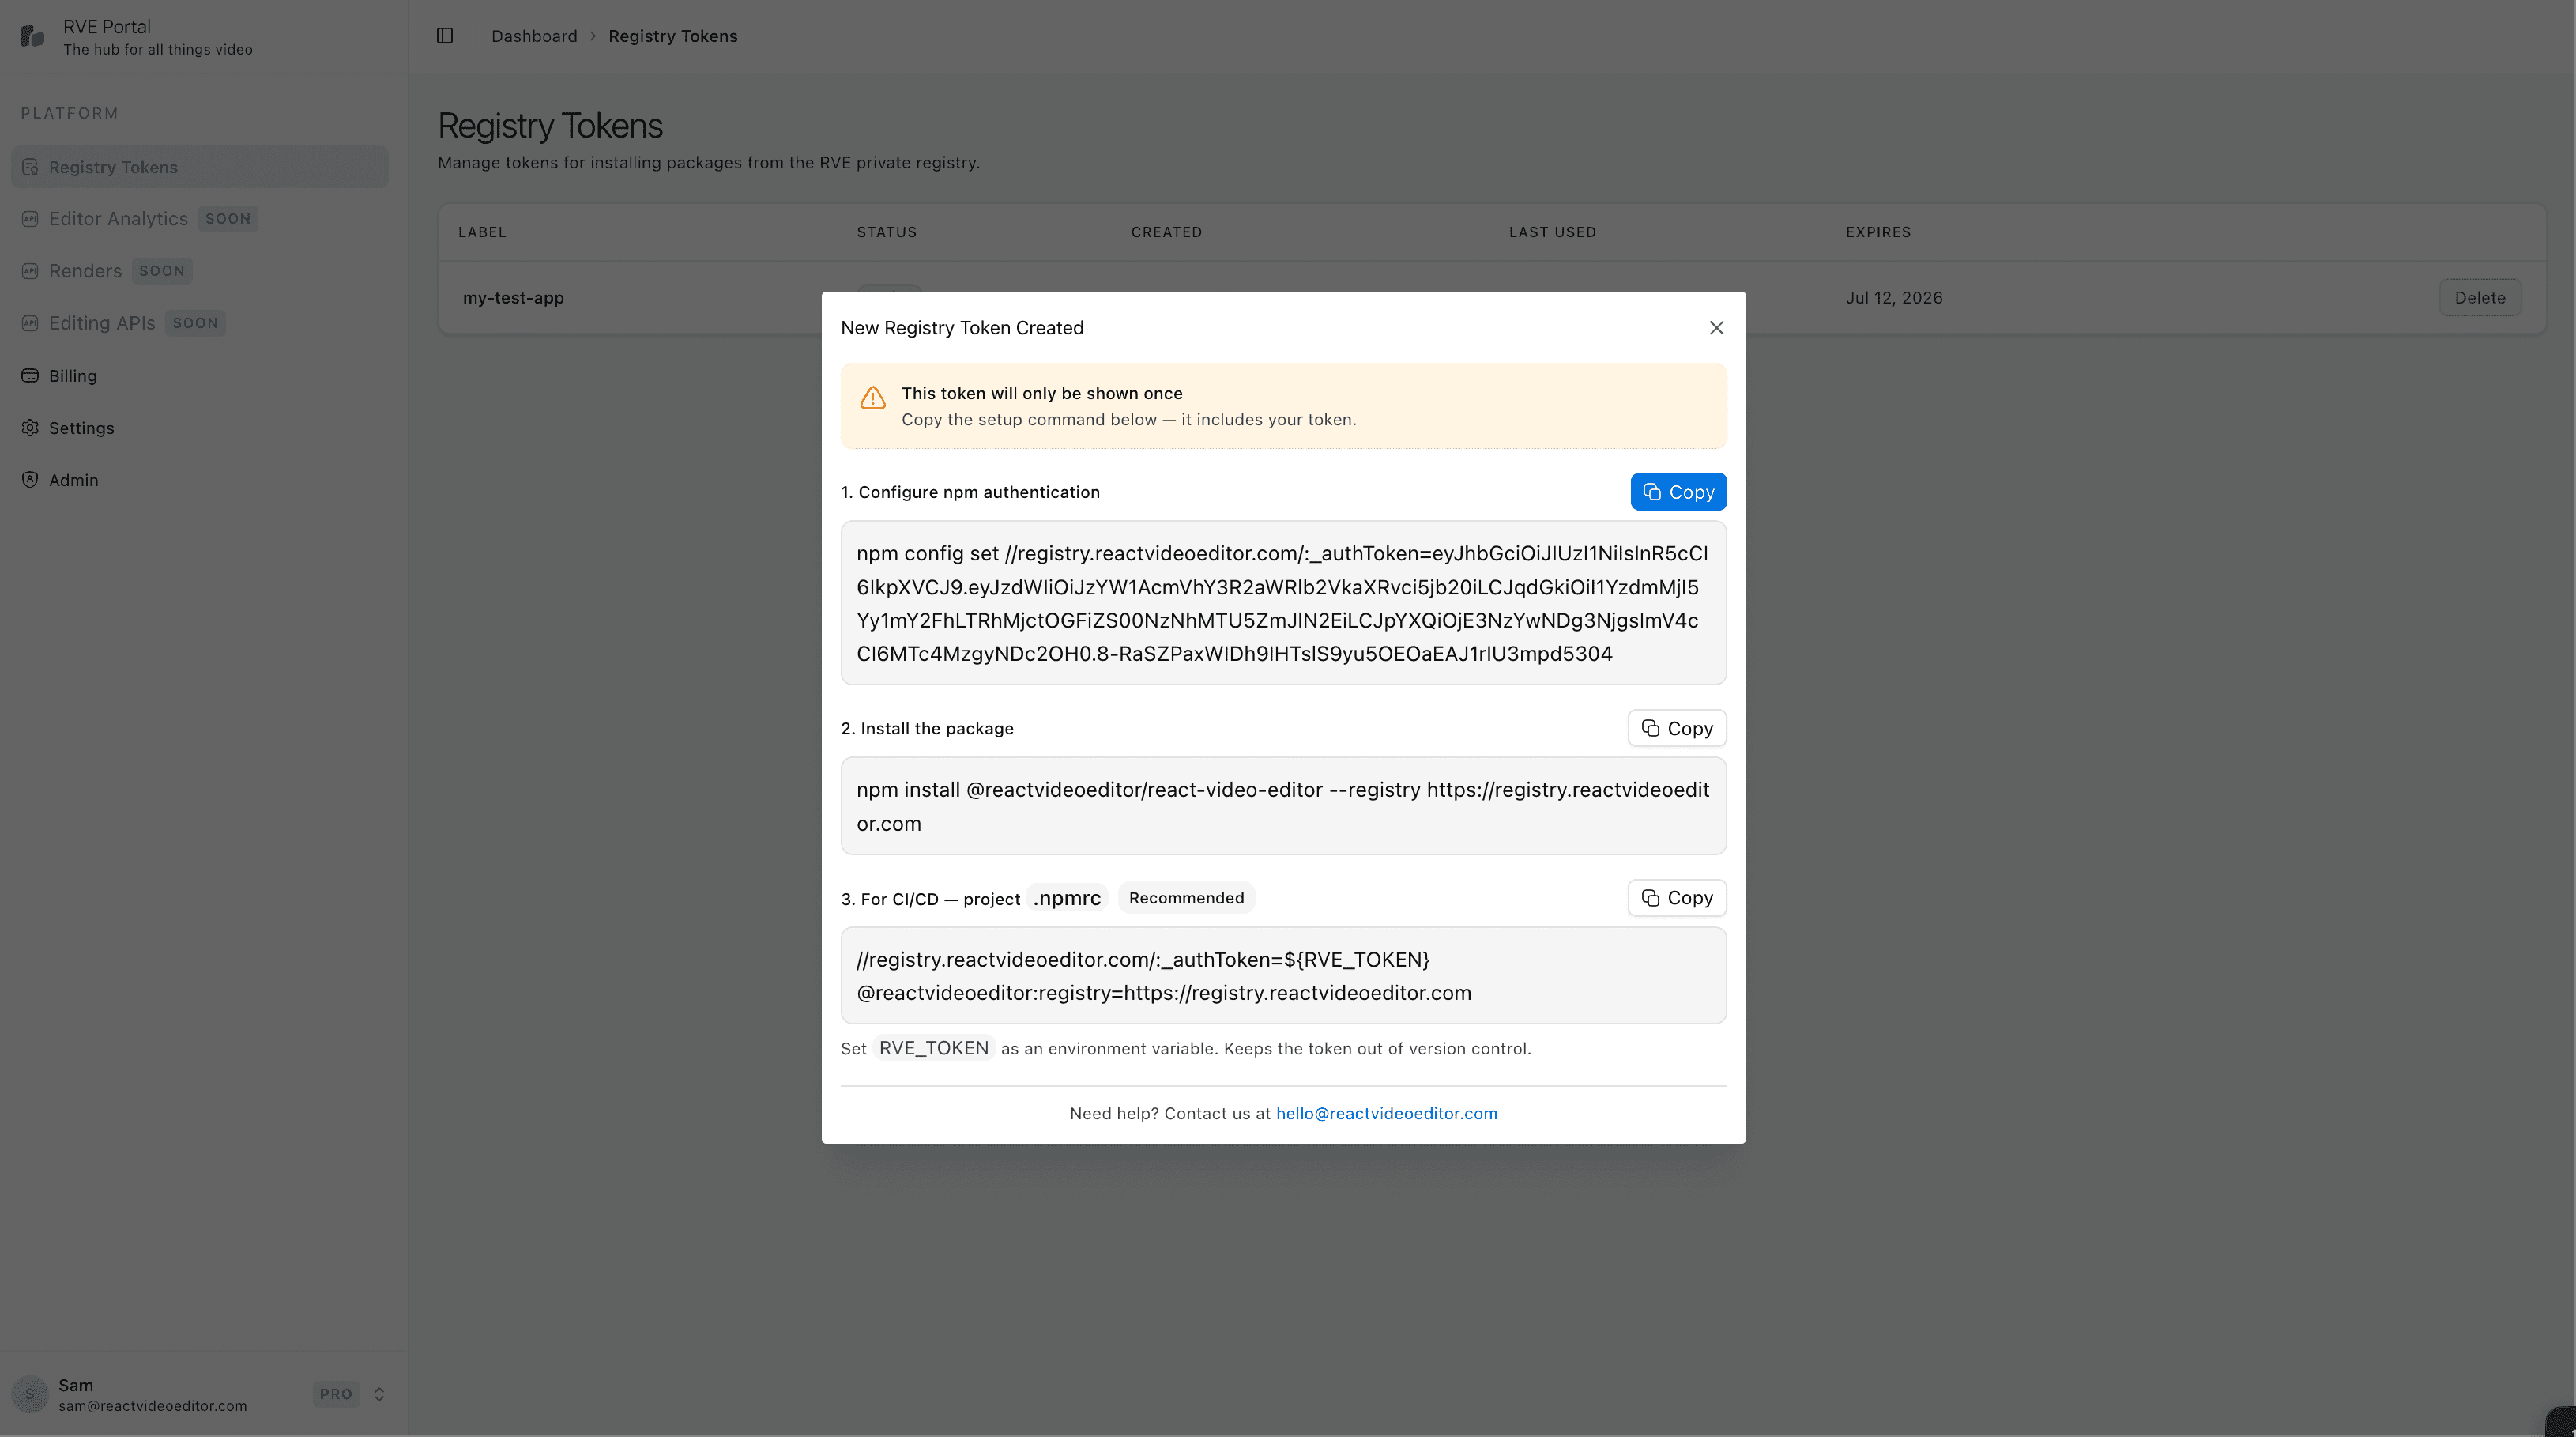
After creating, the portal will show your token once along with the setup commands. Copy the token immediately — you won't be able to see it again.
Step 3: Configure npm Authentication
Run this command, replacing YOUR_TOKEN with the token you just copied:
npm config set //registry.reactvideoeditor.com/:_authToken=YOUR_TOKENStep 4: Install the Package
npm install @reactvideoeditor/react-video-editor --registry https://registry.reactvideoeditor.comYou also need the peer dependencies. All remotion and @remotion/* packages must use the exact same version. A version mismatch causes a runtime error.
npm install remotion@4.0.481 @remotion/player@4.0.481 @remotion/google-fonts@4.0.481 @remotion/lottie@4.0.481 @remotion/web-renderer@4.0.481 @remotion/media@4.0.481 mediabunny| Package | Version | Required? |
|---|---|---|
react, react-dom | ^18.0.0 or ^19.0.0 | Yes. Your app usually has them already. |
remotion, @remotion/player | 4.0.481 | Yes. |
@remotion/media, @remotion/web-renderer, @remotion/google-fonts | 4.0.481 | Yes. The main editor entry imports them. |
@remotion/lottie | 4.0.481 | Yes. The editor loads it on demand for Lottie items, but most bundlers must find it at build time. |
mediabunny | ^1.28.0 | Yes. |
@remotion/lambda | 4.0.481 | No. Install it only if you deploy to AWS Lambda with @reactvideoeditor/react-video-editor/utils/remotion/aws-lambda/deploy. |
If you use AWS Lambda rendering, install the Lambda package at the same version:
npm install @remotion/lambda@4.0.481Remotion version matching
Every Remotion package in your project must use the exact same version. If you already have Remotion installed, make sure all packages match. Mismatched versions will cause a runtime error.
Step 5: Import the Stylesheet
The SDK ships its own CSS. Import it once at the root of your application:
import '@reactvideoeditor/react-video-editor/styles.css';The stylesheet is precompiled. Your app does not need Tailwind CSS.
Deploying with CI/CD?
If you're using GitHub Actions, Vercel, or another automated environment, you'll want to use a project .npmrc file instead of the global npm config. Create a .npmrc in your project root:
//registry.reactvideoeditor.com/:_authToken=${RVE_TOKEN}
@reactvideoeditor:registry=https://registry.reactvideoeditor.com
Then set RVE_TOKEN as an environment variable in your CI/CD platform. This keeps the token out of version control.
Next Steps
You're installed. Now set up your first editor:
- Quick Start — get a working editor on screen in under 5 minutes
- Choose a Rendering Method — use browser rendering or connect managed Cloud Rendering