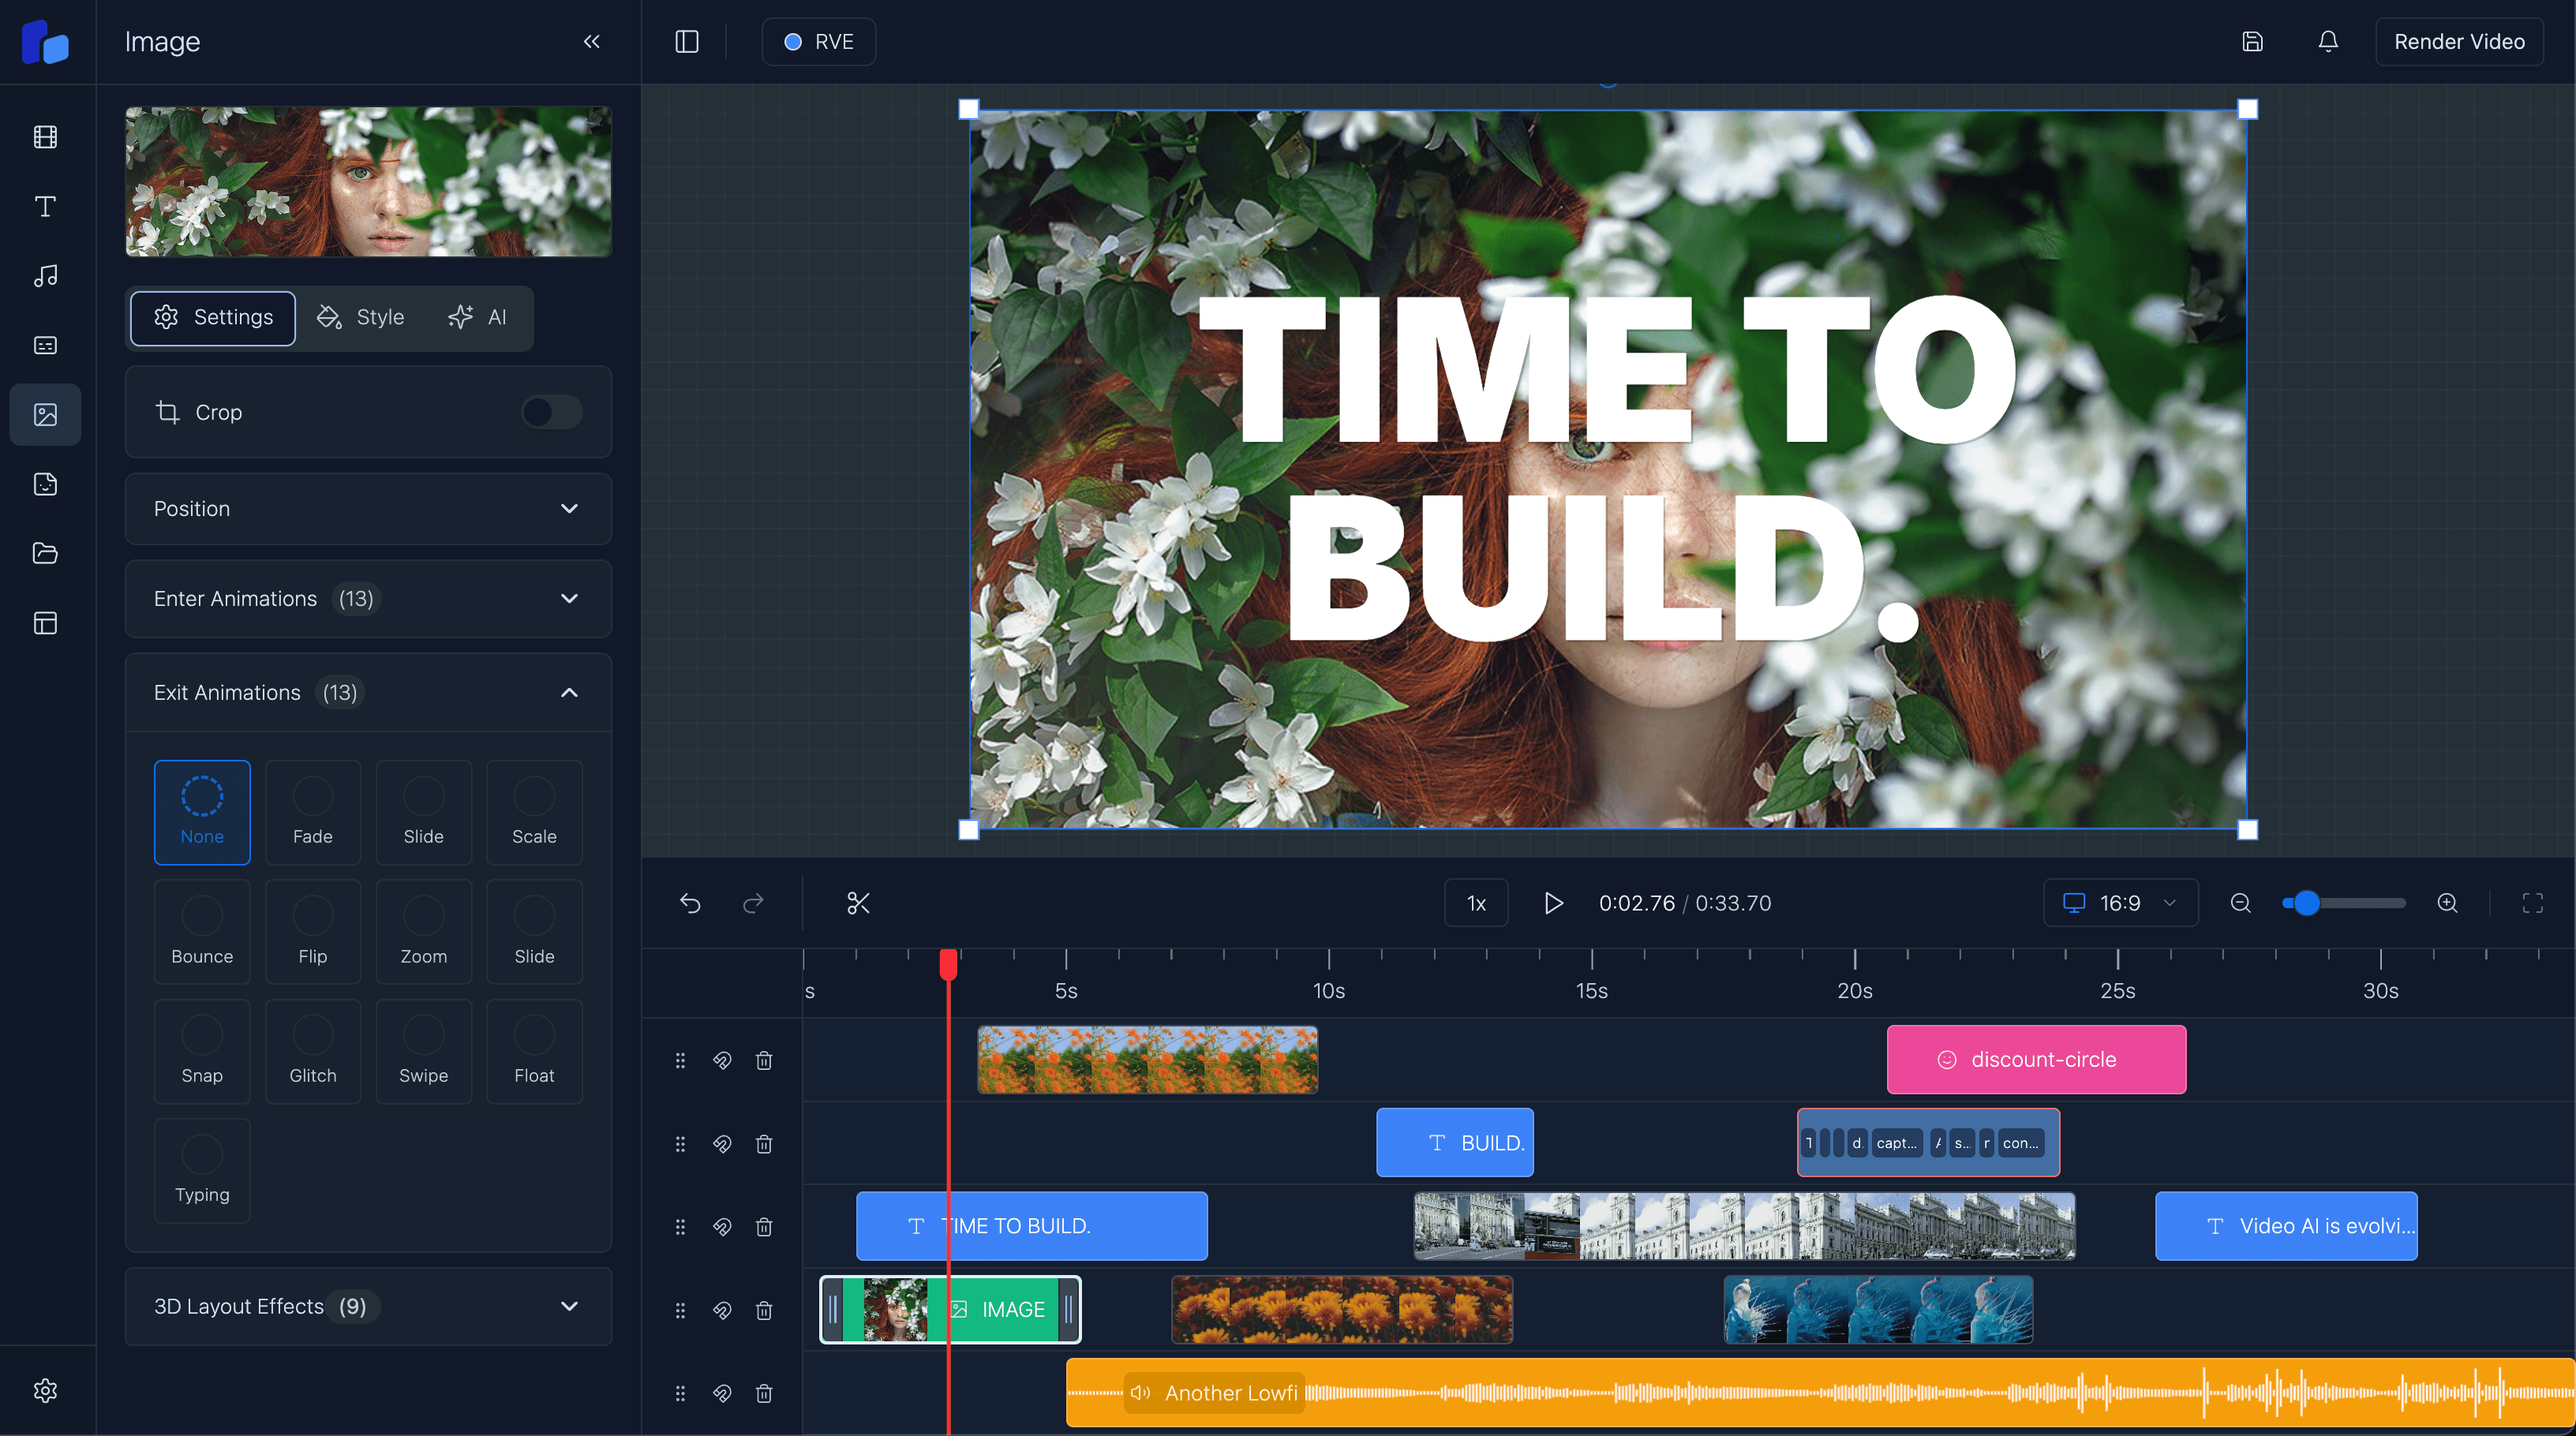
Add Local Upload Support to RVE
Learn how to extend the React Video Editor to allow user-uploaded videos with a seamless workflow using Supabase or other storage solutions.
Sam
Creator of React Video Editor
Introduction
One of the most requested features for the React Video Editor is the ability for users to upload their own video clips to use in the timeline. While not included in the base implementation due to its dependency on external storage solutions, this feature is straightforward to implement. Let's explore how to add this functionality using Supabase storage as an example.
Note: This guide has chosen Supabase as the storage solution, but you can use any other storage solution that supports signed URLs e.g. AWS S3, Azure Blob Storage, etc.
Prerequisites
Before we begin, you'll need:
- A Supabase account and project
- Basic familiarity with React and TypeScript
- The React Video Editor already set up in your project
Architecture Overview
The video upload system consists of three main components:
- Upload Component: Handles file selection and validation
- Storage Integration: Manages file upload to Supabase
- Timeline Integration: Connects uploaded videos to the editor timeline
Step 1: Setting Up Supabase Storage
First, let's configure our storage solution in Supabase:
- Log in to your Supabase dashboard
- Navigate to Storage and create a new bucket called
user-videos - Configure bucket permissions (public or authenticated access)
Note: Consider using server-side functions to manage uploads securely rather than exposing API keys on the client side.
Step 2: Creating the Upload Component
Next, let's create a new UploadVideoPanel component to handle file uploads:
// components/UploadVideoPanel.tsx
import React, { useState } from "react";
import { supabase } from "../supabaseClient";

interface UploadVideoPanelProps {
  onUploadComplete: (url: string) => void;
}

const UploadVideoPanel: React.FC<UploadVideoPanelProps> = ({
  onUploadComplete,
}) => {
  const [uploading, setUploading] = useState(false);

  const handleUpload = async (event: React.ChangeEvent<HTMLInputElement>) => {
    const file = event.target.files?.[0];
    if (!file) return;

    // Validate file type and size
    const allowedTypes = ["video/mp4", "video/mov"];
    if (!allowedTypes.includes(file.type)) {
      alert("Only MP4 and MOV formats are supported.");
      return;
    }
    if (file.size > 50 * 1024 * 1024) {
      alert("File size exceeds 50MB.");
      return;
    }

    setUploading(true);
    try {
      const { data, error } = await supabase.storage
        .from("user-videos")
        .upload(`videos/${file.name}`, file, { upsert: true });

      if (error) throw error;

      const publicUrl = supabase.storage
        .from("user-videos")
        .getPublicUrl(data.path).data.publicUrl;

      onUploadComplete(publicUrl); // Send URL to parent for timeline integration
    } catch (error) {
      alert("Error uploading video. Please try again.");
    } finally {
      setUploading(false);
    }
  };

  return (
    <div>
      <input type="file" accept="video/mp4,video/mov" onChange={handleUpload} />
      {uploading && <p>Uploading...</p>}
    </div>
  );
};

export default UploadVideoPanel;
Key Features:
- File type validation (MP4/MOV only)
- Size limit enforcement (50MB default)
- Error handling and progress indicators
- Uploading files to the user-videos bucket and returning a public URL
Understanding the ClipsPanel
The ClipsPanel serves as the hub for managing both stock and user-uploaded video clips. This section explains the rationale behind the implementation choices and highlights the adjustments made for seamless integration of user-uploaded videos into the timeline.
Key Modifications
Dynamic User Videos List
The userVideos state maintains a list of uploaded clips, ensuring they are displayed alongside stock clips in the panel. Each video has a unique id and src for tracking and rendering.
Seamless Timeline Integration
Once a user uploads a video, the URL is passed to the editor's context via the addOverlay function. This allows the video to appear immediately in the timeline, ensuring a smooth user experience.
Default Styling and Duration
Uploaded videos are added with preconfigured properties such as:
- Duration in Frames: A default value of 90 frames
- Styling: Consistent with existing overlays (e.g., full-width dimensions, objectFit: "cover")
Why External Storage is Essential
The React Video Editor relies on external sources for video rendering because Remotion Renderer processes files by directly fetching them from their hosted locations. This means:
- Remotion requires access to publicly accessible video URLs for encoding and playback during rendering. Without a hosted source, the renderer cannot retrieve video files to create the final output.
- External storage solutions like Supabase or AWS S3 enable handling large files efficiently, ensuring the app remains performant while avoiding local storage limitations.
- Using storage with signed URLs (e.g., Supabase) ensures secure and time-limited access to video files during the rendering process.
Conclusion
In this guide, we've walked through how to extend the React Video Editor to support user-uploaded videos using Supabase storage. The key steps included:
-
Setting Up Storage
- Configuring Supabase to securely store video files
- Creating appropriate storage buckets
- Setting up access permissions
-
Creating an Upload Component
- Handling file selection and validation
- Implementing real-time upload feedback
- Managing error states and user notifications
-
Integrating Uploaded Clips
- Seamlessly adding user-uploaded videos into the editor's timeline
- Managing video metadata and properties
- Handling playback integration
Core Concept
At its core, this functionality revolves around two main aspects:
- Having a storage area to save
.mp4video files - Retrieving and integrating those files into your app (similar to fetching videos from the Pexels API)
If you still have questions or run into issues, feel free to reach out to our support team for further guidance.


