How to Build a Video Editor in React
A practical guide to building a browser-based video editor in React, including timeline architecture, playback, rendering, uploads, captions, and when to use React Video Editor instead of building everything from scratch.
Sam
Creator of RVE
If you want to build a video editor in React, you need a timeline, a preview layer, a project schema, uploads, persistence, and a rendering pipeline that all agree on time.
That is the version most teams underestimate.
Key takeaways
- React is a good fit for the editor UI because the hard parts are mostly state, composition, and interaction logic.
- Remotion is useful when you want preview and export to share the same frame-based model.
- The fastest way to make progress is to define a stable project schema before polishing the UI.
The short version: use React for the editor UI, Remotion for composition/rendering, and a structured overlay model for timeline state. If you want a faster path, React Video Editor gives you those building blocks without wiring everything together from zero.
What a real React video editor actually needs
Most teams begin by picturing trimming clips on a timeline. That matters, but it is only one layer.
A usable browser-based editor usually needs:
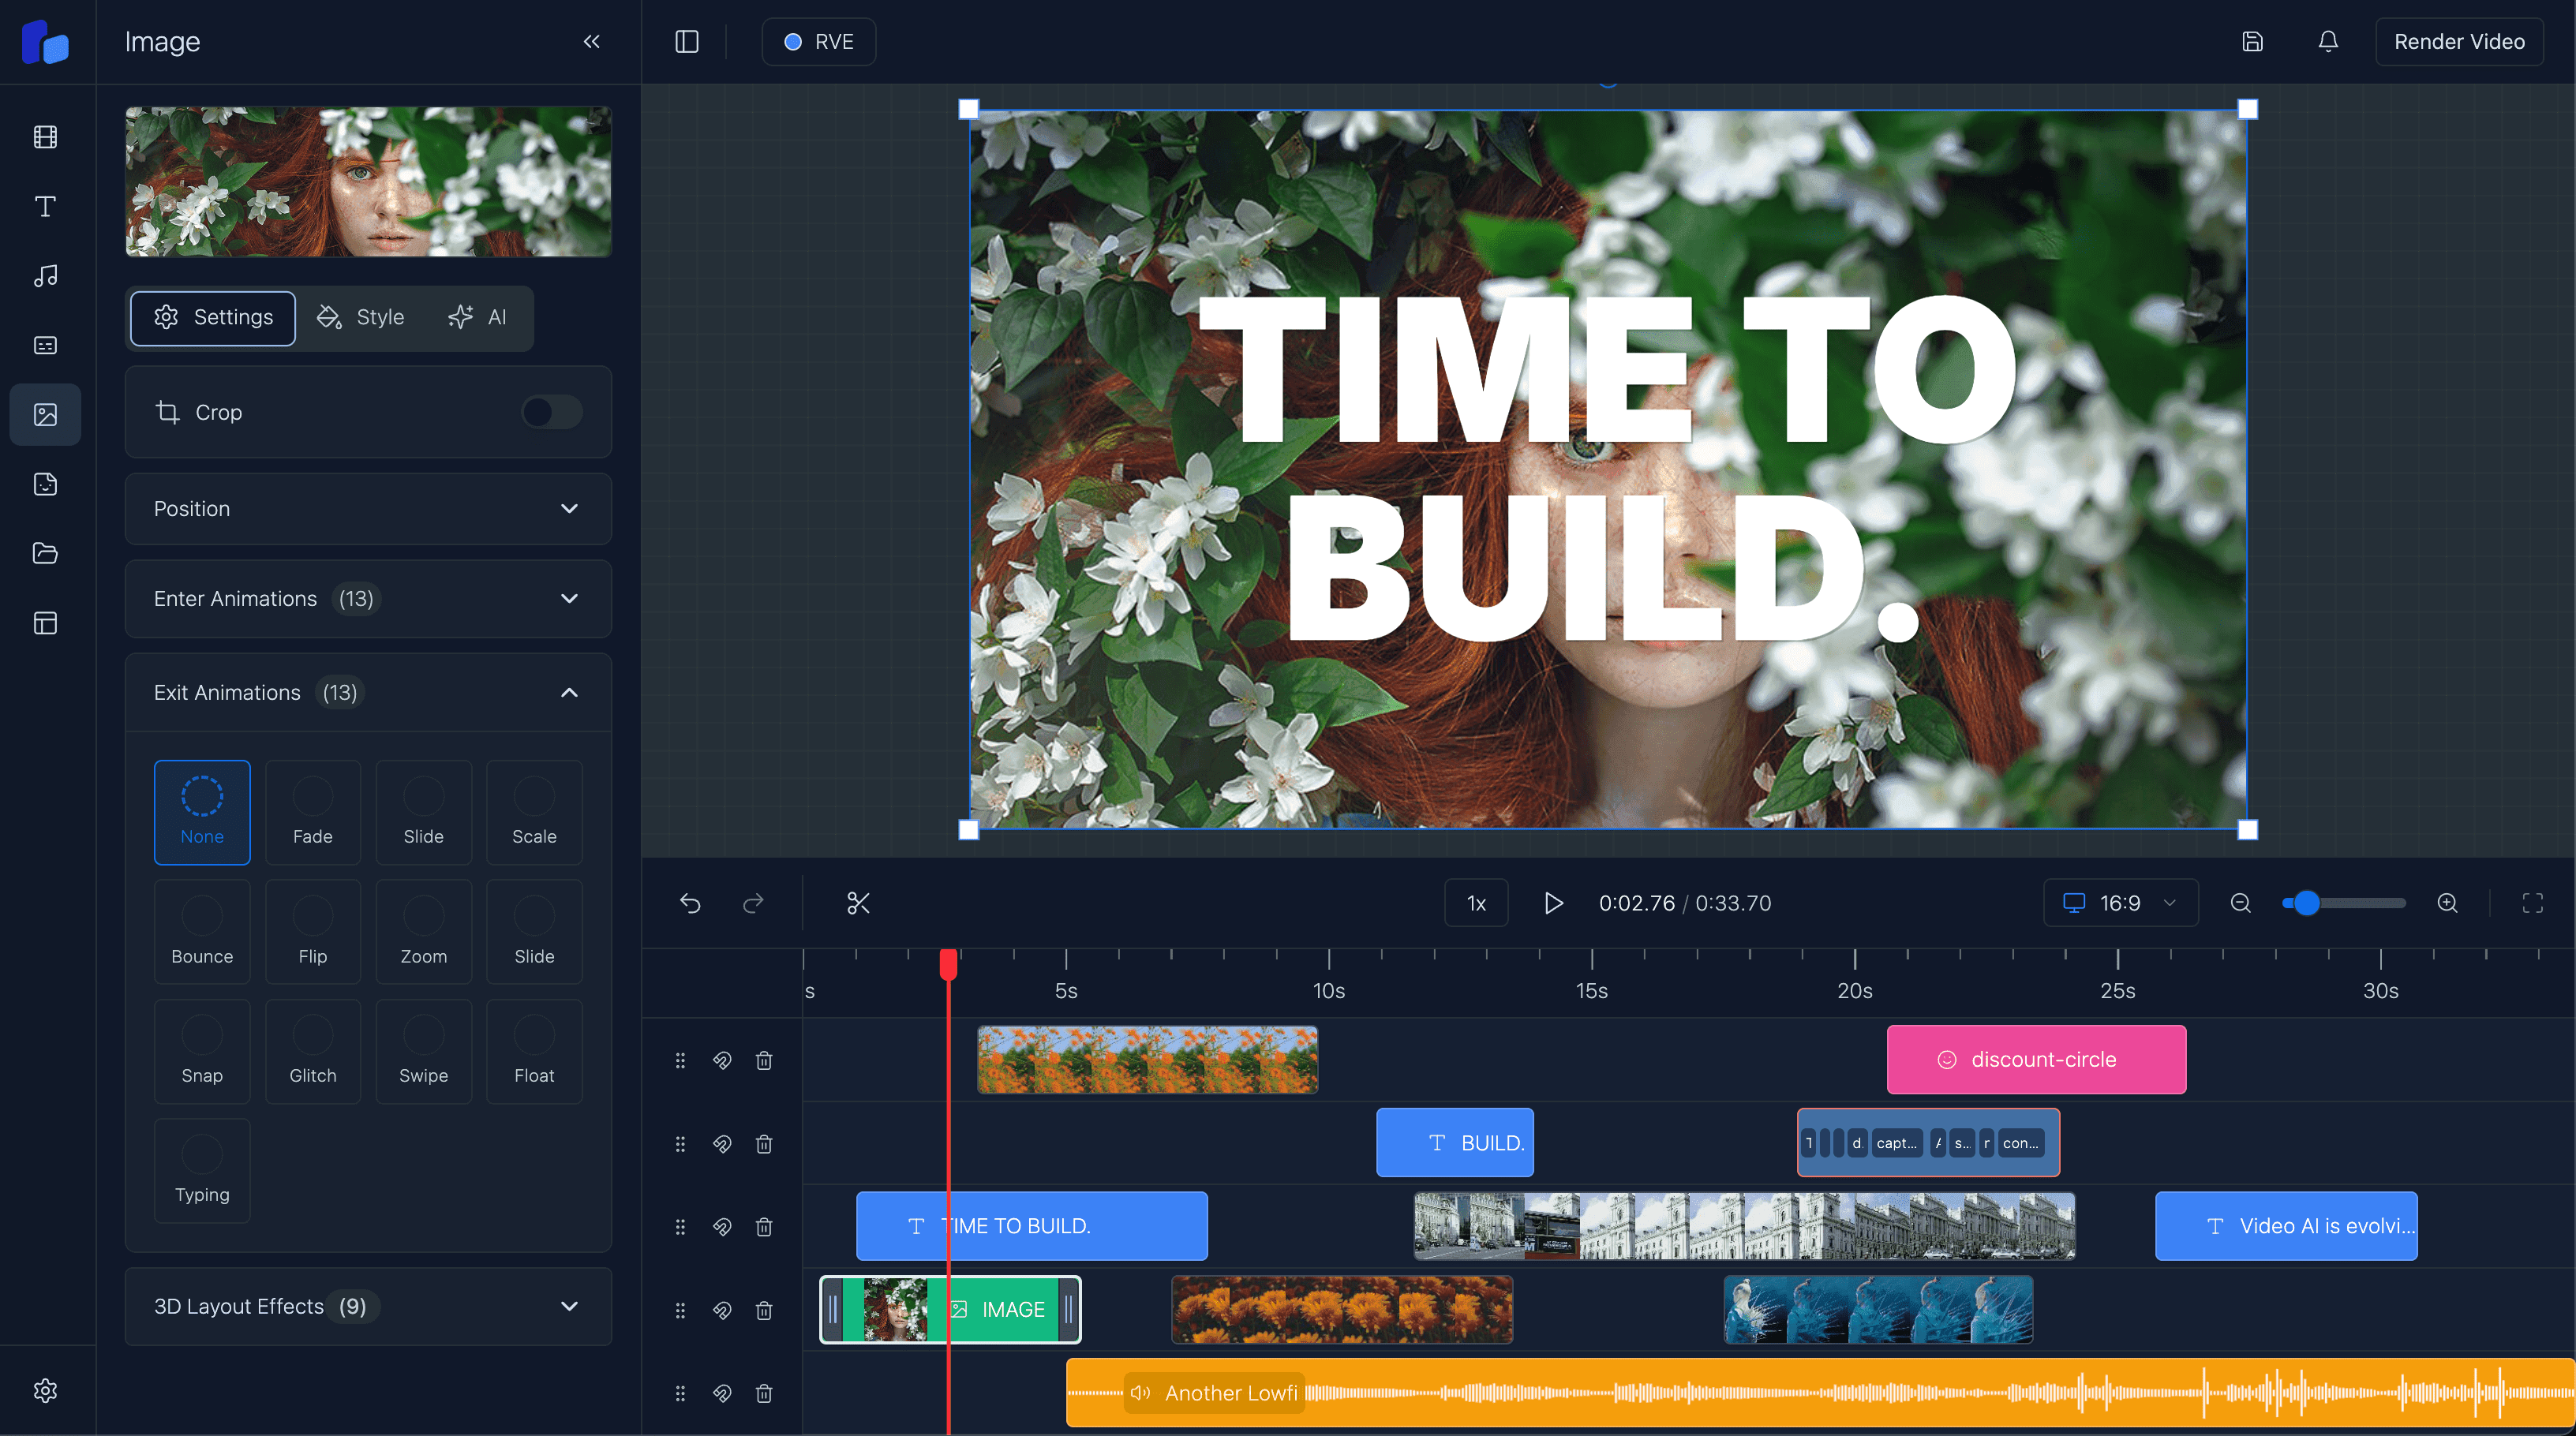
- a timeline component for clips, text, captions, audio, and transitions
- a preview player that stays in sync with timeline state
- an overlay model describing what appears, when, and where
- upload/import flows for local files, remote assets, and generated media
- a persistence layer for projects, templates, and autosave
- a rendering/export pipeline for final output
If this is you
- You are still deciding where the editor state should live and how preview should stay in sync.
- You need a practical build order instead of a vague architecture diagram.
- You want to know which parts are UI problems and which parts are actually systems problems.
Recommended architecture
If you want the deeper systems view behind these decisions, read Web-Based Video Editor Architecture.
- React + Next.js for the application shell, routes, auth, and APIs
- a timeline component for drag, resize, snapping, and zoom
- Remotion for frame-accurate composition and rendering
- a normalized editor state for overlays, tracks, selections, and playback time
- storage for uploads, generated assets, and rendered outputs
- background jobs or render endpoints for export-heavy work
That stack works well because React handles the UI state cleanly, while Remotion handles the composition layer that is much harder to reinvent well.
Option A
What to build first
- A stable project schema with frames as the canonical timing unit.
- A preview/player wired to that same schema.
- A timeline that edits the same data the preview and export rely on.
Option B
What to leave until later
- Heavy polish before the render path is stable.
- Fancy collaboration before autosave and persistence are trustworthy.
- Exotic editor interactions before timeline and export are reliable.
The core data model
A React video editor becomes much easier to reason about when everything on the timeline is treated as an overlay or track item with timing metadata.
export type TimelineItem = {
  id: string;
  type: "video" | "image" | "text" | "audio" | "caption";
  from: number;
  to: number;
  trackId: string;
  style?: Record<string, unknown>;
  content?: Record<string, unknown>;
  source?: {
    src: string;
    uploadId?: string;
  };
};

export type EditorState = {
  fps: number;
  durationInFrames: number;
  currentFrame: number;
  selectedItemId: string | null;
  items: TimelineItem[];
};
That gives you one stable base for timeline drawing, clip selection, drag and resize, undo/redo, and rendering the same project in preview and export.
A build order that saves time
1. Start with playback and composition
Get a basic player working first. You want one source of truth for currentFrame, fps, and timeline items.
2. Add a proper timeline
Your timeline should support:
- multiple tracks
- drag and drop
- clip resizing
- snapping
- playhead scrubbing
- zooming
- selection state
For teams specifically searching for a React video timeline component, the next pages to read are:
If your search started one layer higher - for a React video editor component rather than just the timeline - read React Video Editor Component: What Teams Actually Need.
3. Add uploads and asset management
Once users can place media on the timeline, they immediately need upload progress, validation, metadata, thumbnails, and storage references.
4. Add captions, text, and overlays
Text and captions often drive the value of the editor itself: subtitles, hooks, lower thirds, brand styling, and reusable scenes.
5. Add rendering and export
Previewing is not exporting. Export introduces queueing, retries, server cost, output presets, and delivery concerns.
Mistakes worth avoiding
- Do not treat the timeline as just UI; it is the main interaction model and state machine.
- Do not let preview state diverge from the persisted project model.
- Do not mix seconds, milliseconds, and frames without one canonical timing unit.
What to keep front of mind
- Uploads and media lifecycle handling get complicated faster than most prototypes expect.
- Export introduces a different reliability problem than preview.
- Building every subsystem from zero can delay testing the product idea itself.
Questions readers usually ask
Next step
If you want to understand the systems behind this build order, go one layer deeper
The architecture guide breaks down timeline state, uploads, persistence, and render jobs as separate systems instead of one blob of editor logic.